Cast iron radiator installation should always be handled by a qualified professional. Your plumber should have all of the tools you need to achieve a professional installation.
If you require any assistance or advice with your cast iron radiator installation, ask your plumber to contact us directly and we can answer any of their technical questions, before or during the cast iron radiator installation process.
Remember that cast iron radiators are heavy. If carried incorrectly, the gasket seals between sections can be compromised. This is a common cause of leaks. Please see our guide on Handling Cast Iron Radiators.
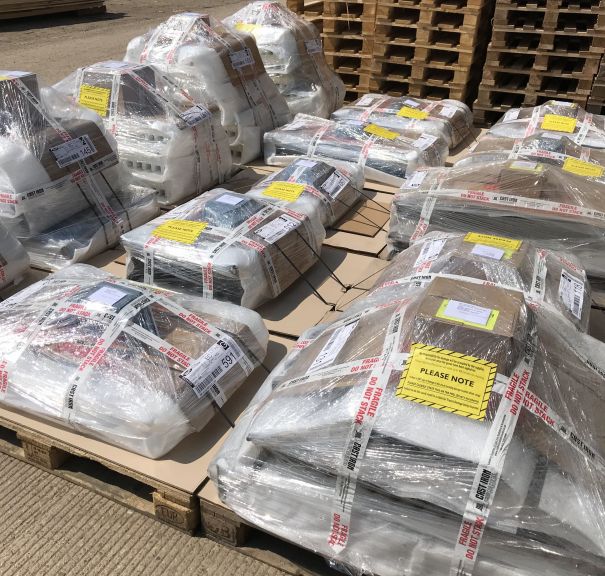
Your radiators will be delivered flat on a pallet. We recommend leaving them on the pallet until you are ready to install them and can arrange to have help at hand.
If you drag your radiators or attempt to slide them from the pallet, you risk damaging them or more likely, the paintwork before you’ve even had a chance to install them.
Always carry your cast iron radiators vertically, never horizontally. Two short pieces of wood wrapped in a tea towel make excellent carry handles. Simply slide the wood between the sections so there is a piece on either side. Again, see our handling guide for helpful tips.
Remember that all our cast iron radiators have feet, so they can be stored upright until you’ve had a chance to secure them to the wall. Just be cautious that these aren’t knocked, as this could damage the radiators or scratch the paintwork.
Curious about the steps your plumber will take to install your radiators? We don’t recommend our customers handle the installation by themselves. As you can see, the process is quite complex and requires specialist training!
When you’re ready to install your cast iron radiators, your qualified plumber or heating technician will need to follow these installation instructions (which are also included with your delivery on an A3 bright yellow sheet).
If the radiators have been marked during the installation process, it’s a good idea to use this opportunity to touch up the paint using a cast iron radiator touch up paint.
Radiator inhibitor works by preventing internal corrosion and provides additional protection for all the components in your heating system from your boiler to your valves and radiators.
The appropriate dosing tool should be used and the water should be tested to ensure you achieve the right inhibitor levels for the total water content of the system.
Make a note of your cast iron radiator inhibitor levels for future reference. Every time the radiator system is drained for decorating or alterations for example, you’ll need to reintroduce the inhibitor at the correct level.
We also recommend checking the inhibitor levels annually as part of your boiler service. After 5 years, the inhibitor should be renewed, or a laboratory test should be performed to confirm the levels. These steps are essential to keep your warranty intact.
For sealed and pressurised systems, the inhibitor level should remain the same unless you drain the system or you have a leak. With a vented or open system, you need to check the inhibitor levels regularly, as evaporation in the system can impact levels.
You must not use any water softening agents in the system with our radiators as this can cause damage to gaskets and seals.
On commissioning, the water in the system should be cleaned to remove debris, flux and residues. The system should then be tested and neutralised if required. The Ph of your heating system should be maintained around 7-8.5.
We also do not recommend the use of caustic, corrosive or acidic plumbing compounds with our cast iron radiators. These can damage the valves and connections.
Every 5 or 6 years, you should hire a professional to perform a cast iron radiator flush. This will help to remove debris build up. We recommend the use of Fernox F3 followed by F1 rust inhibitor. And finally, the system should be closed with the correct dosing of the inhibitor.
Cast iron radiators need to be secured to the wall for a number of reasons. They are very heavy, and there is a risk they could topple if they are not secured in place. Securing them to the wall will also minimise the risk that they could move, which could damage the pipes feeding your radiators.
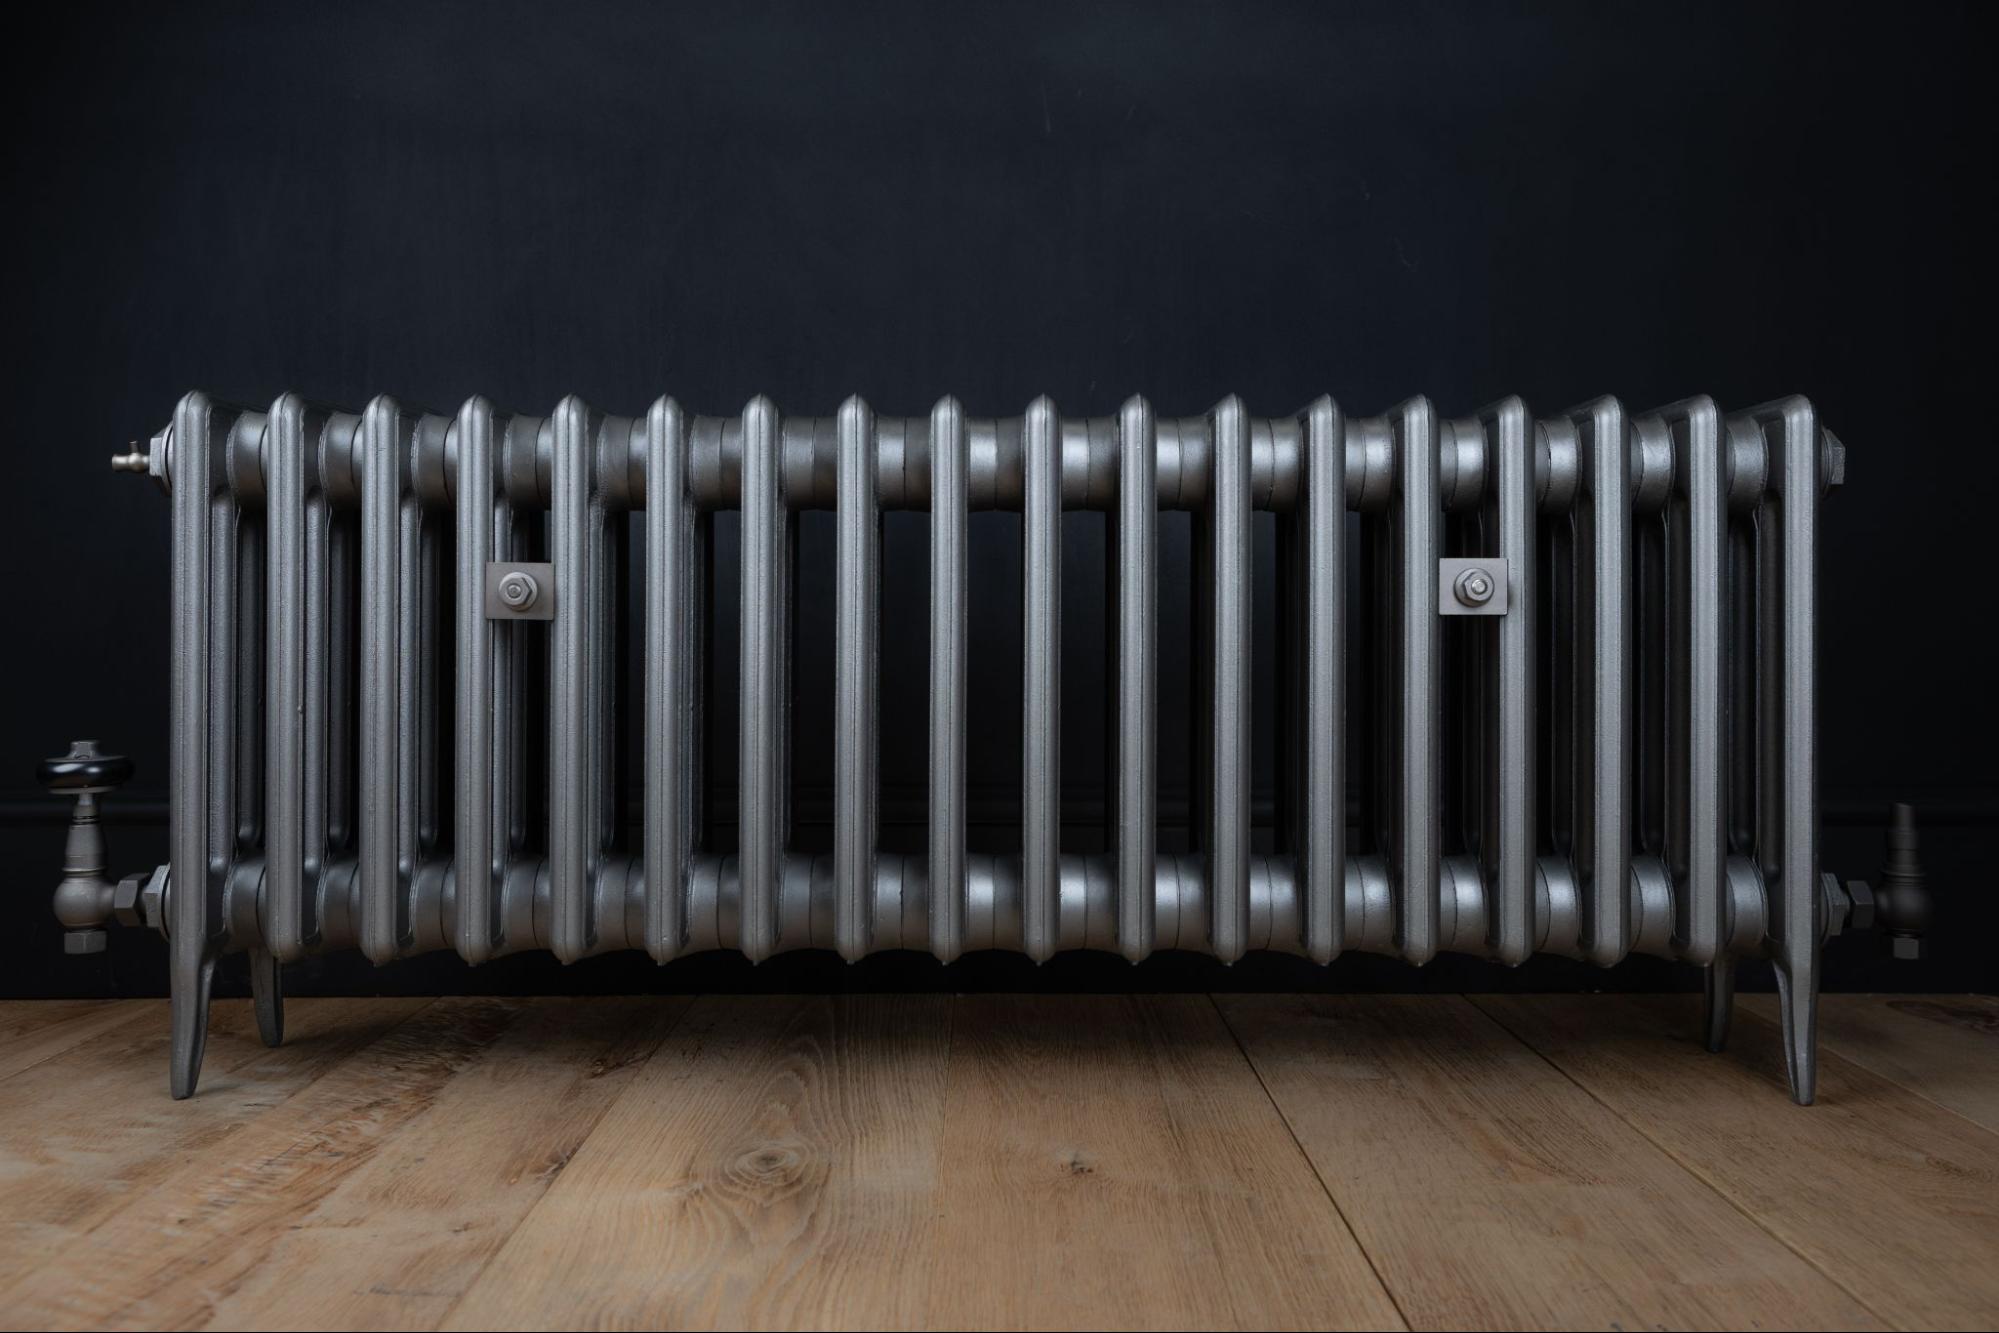
You’ll need one wall stay for the first 10 sections of your radiator, and two wall stays for any radiator longer than 10 sections. Our customers usually like the symmetry of 2 wall stays, even for shorter lengths. And remember that odd numbers of sections will result in an off-centre wall stay.
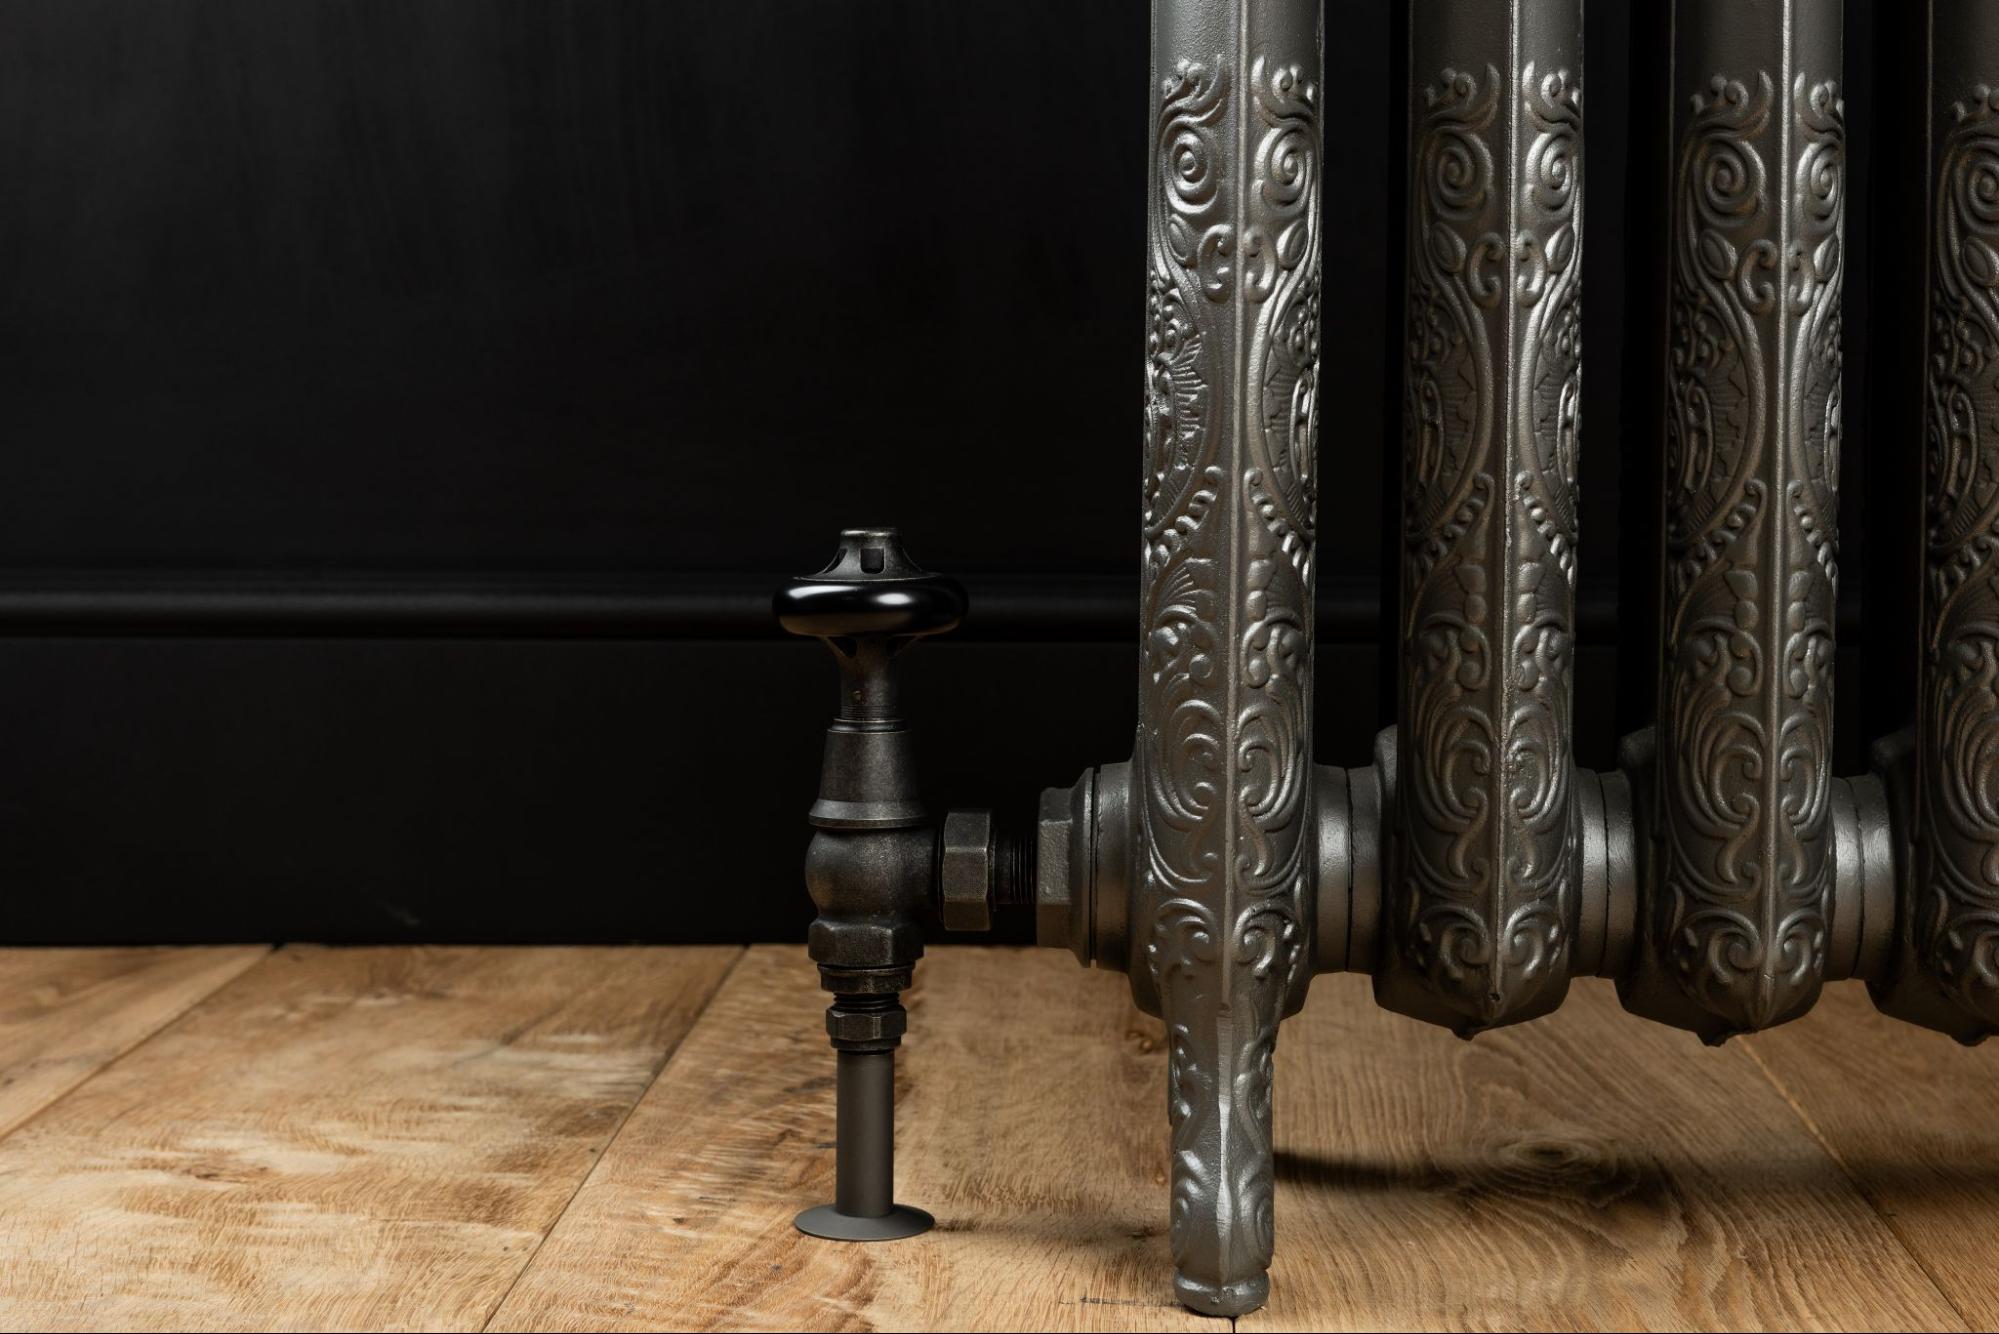
The round base plate is secured to the wall and then the threaded bar can be measured and cut to the correct length using a hacksaw. The cut end should be secured to the base plated and collar. The threaded square plate goes on the threaded bar first and then the smooth base plate is secured on the outside of the radiator using the washer and flange nut.
If you have any questions about the cast iron radiator installation process, get in touch with our team.
Join our mailing list